
Introduction
Photorealistic 3D assets require more than just high-quality models—they depend on accurate texture maps that capture every detail of the real world. In this tutorial, we’ll show you how to create realistic texture maps of a rose flower using a photometric scanning setup. This workflow helps generate clean albedo, normal, roughness, and opacity maps, making your assets ready for rendering in Blender, Maya, 3ds Max, Unreal Engine, and other software.
What you need (quick bill of materials)
-
Camera: mirrorless/DSLR (RAW), 35–85 mm prime recommended
-
Tripod + remote/2-sec timer
-
Two LED lights (continuous), identical intensity if possible
-
Polarizing gel sheets for the lights + circular polarizer for the lens (for cross-polarization)
-
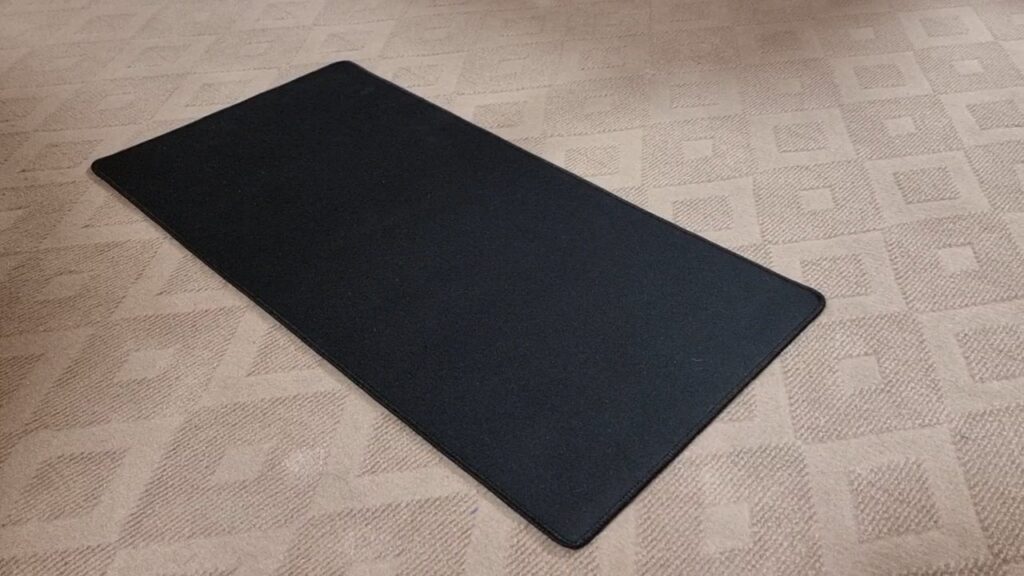
Matte black board (or black velvet) as background
-
Gaffer tape / elastic bands to mount gels on lights
-
Grey card (for white balance)
-
Fresh rose (separate petals & leaves if you’ll texture them individually)
-
Software: Photoshop (or Affinity/GIMP), Substance 3D Sampler/Designer (or ShaderMap/Materialize/CrazyBump as alternatives)

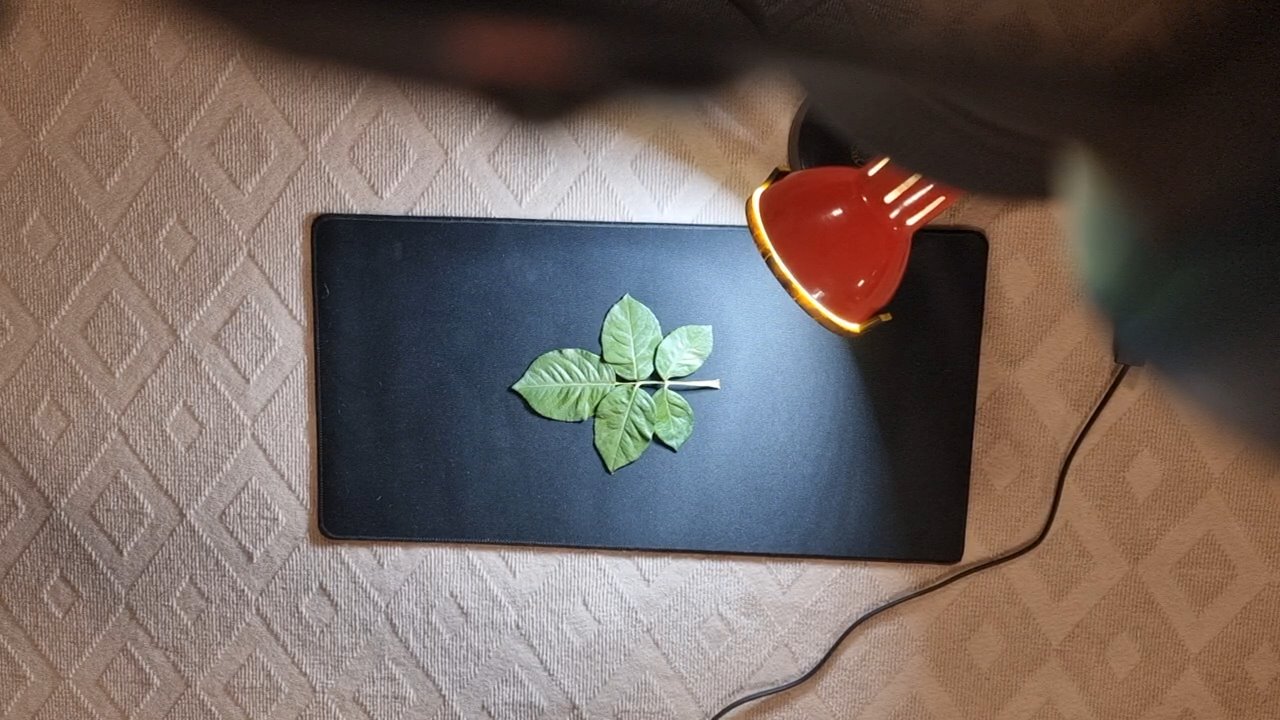
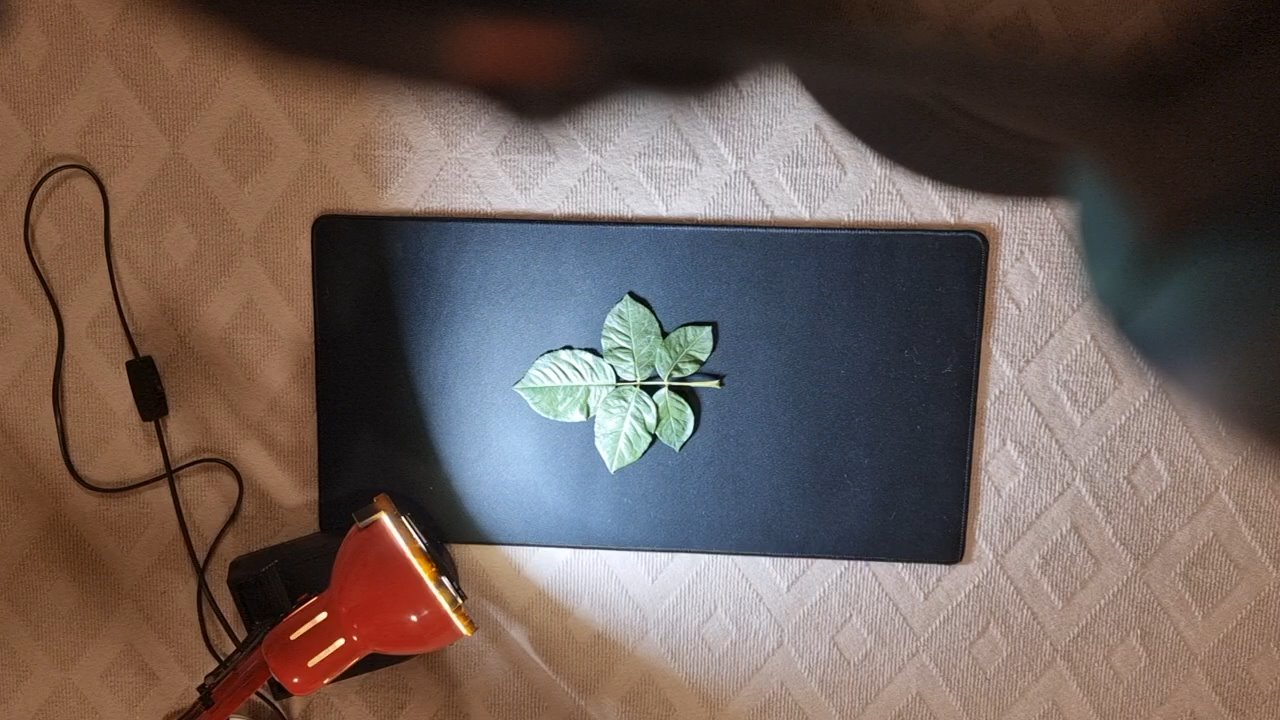
Step 1 — Prepare the capture surface
Lay a matte black board on a sturdy table. Black kills bounce and makes masking easier. If you’re doing leaves, gently flatten them with light weights at the stem (avoid pressing the veins).
Tips
-
Remove dust/hairs; specular dust becomes white dots later.
-
If the flower/leaf curls, mist lightly and wait a minute; don’t soak.
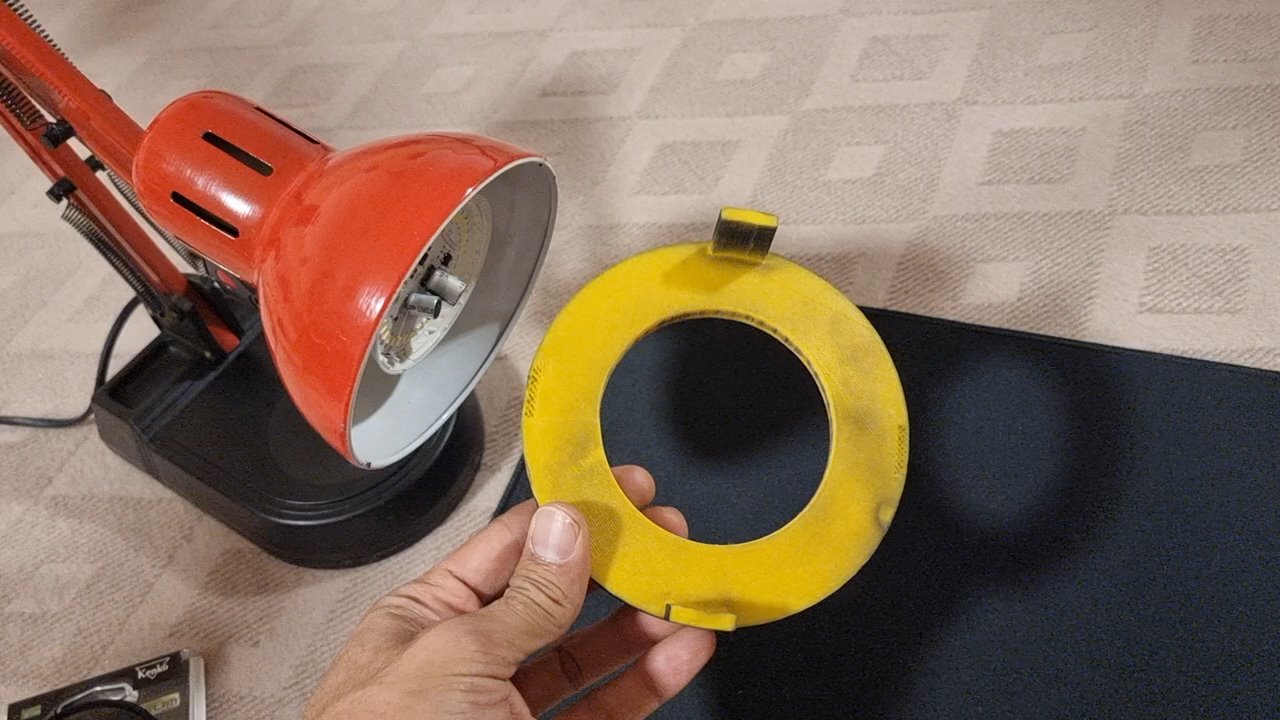
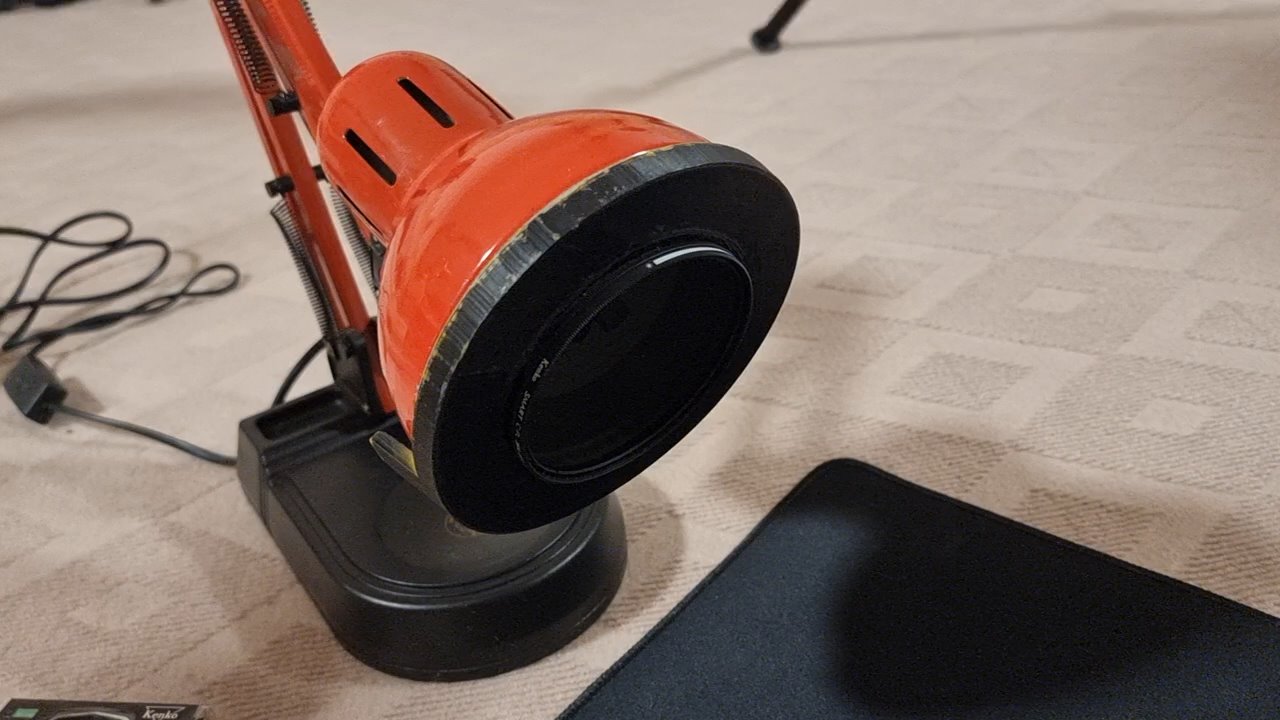
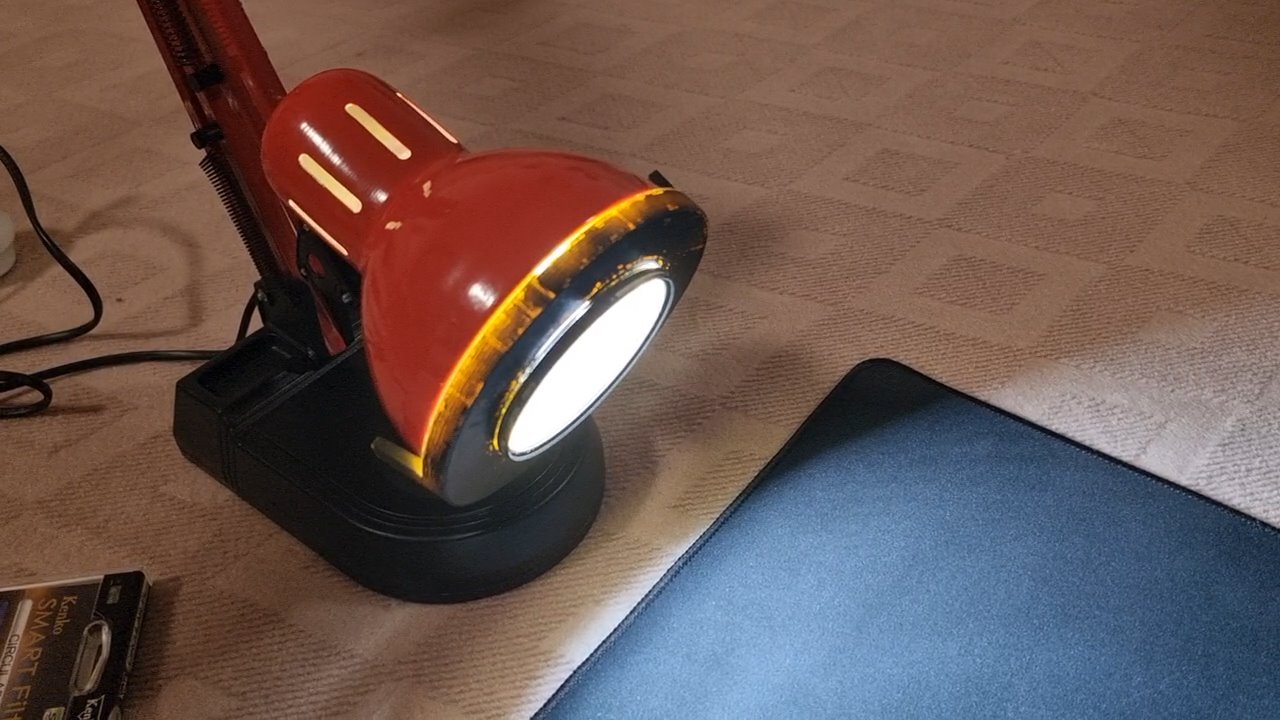
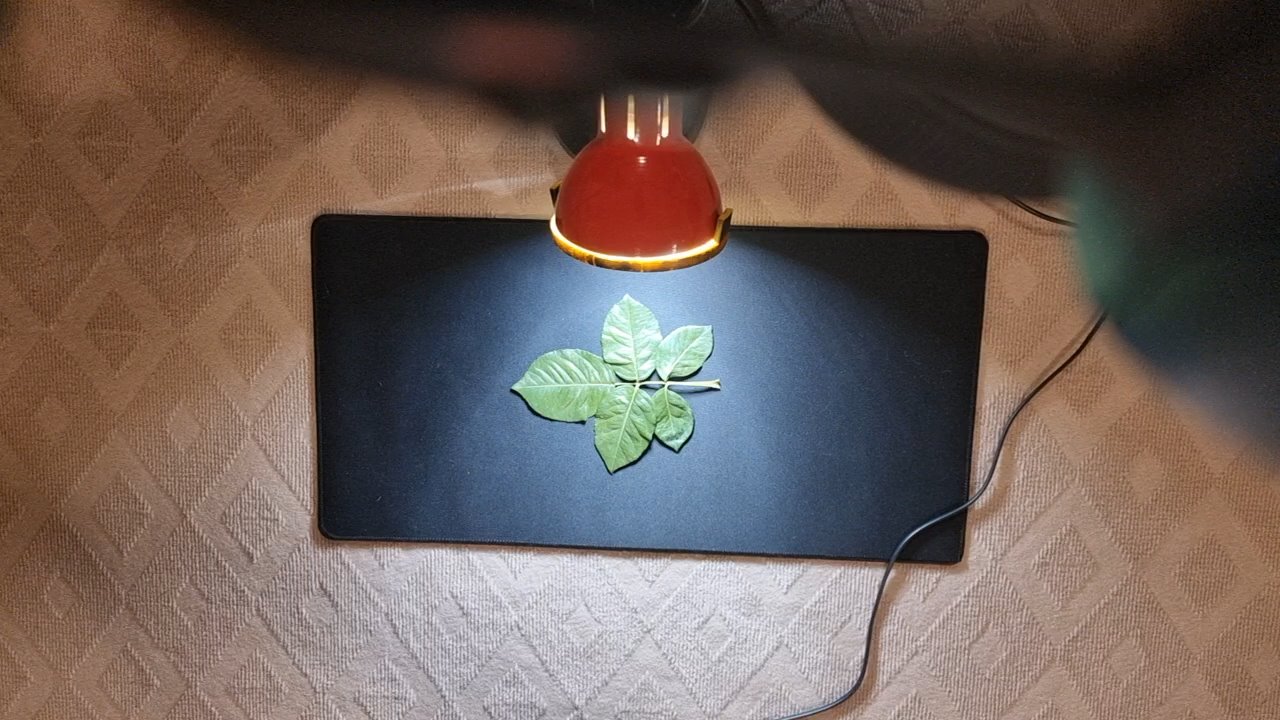
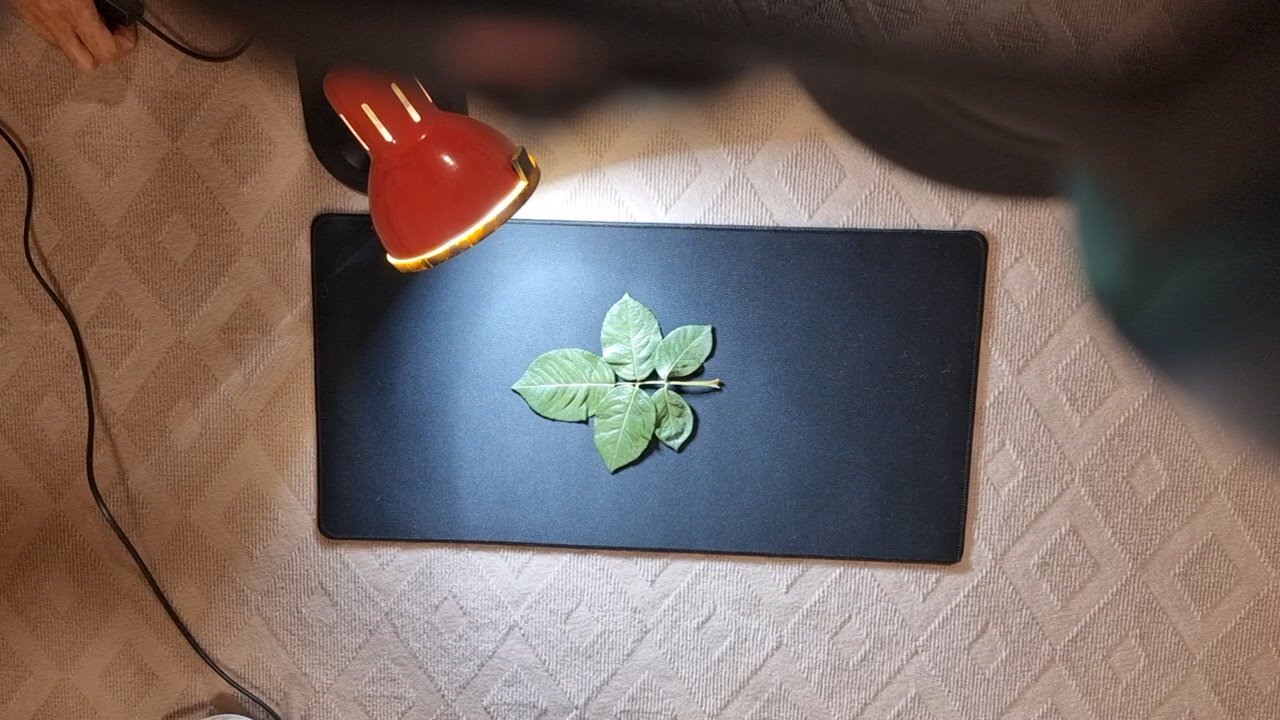
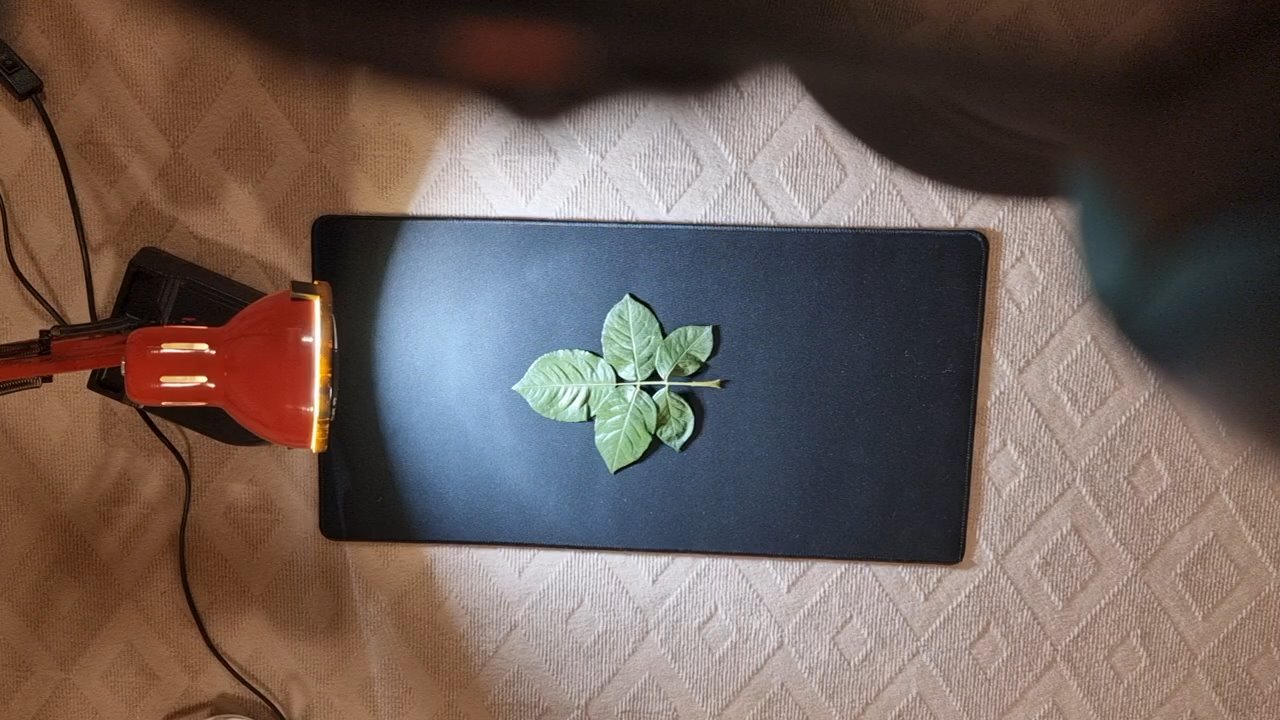
Step 2 — Build the cross-polarized light rig
-
Put polarizing to fit each light’s face and secure them (gaffer tape or a simple ring frame).
-
Mount a circular polarizer on the lens.
-
Aim both lights at ~35–45° from left and right, slightly above the plane. Distance should be equal.
Why: Cross-polarization removes specular glare, giving you a near-perfect diffuse/albedo capture.
How to set cross/parallel: Rotate the lens polarizer while looking through Live View—when reflections vanish, you’re at cross-polarized. Rotate 90° to get parallel-polarized (you’ll capture this later for roughness).
Step 3 — Camera settings (lock it down)
-
Shoot RAW, ISO 100, f/8–f/11, shutter to taste.
-
Use manual focus; focus once (magnified view) and don’t touch it again.
-
Fix white balance using a grey card shot.
-
Disable any auto-exposure/auto-ISO; all frames must be consistent.
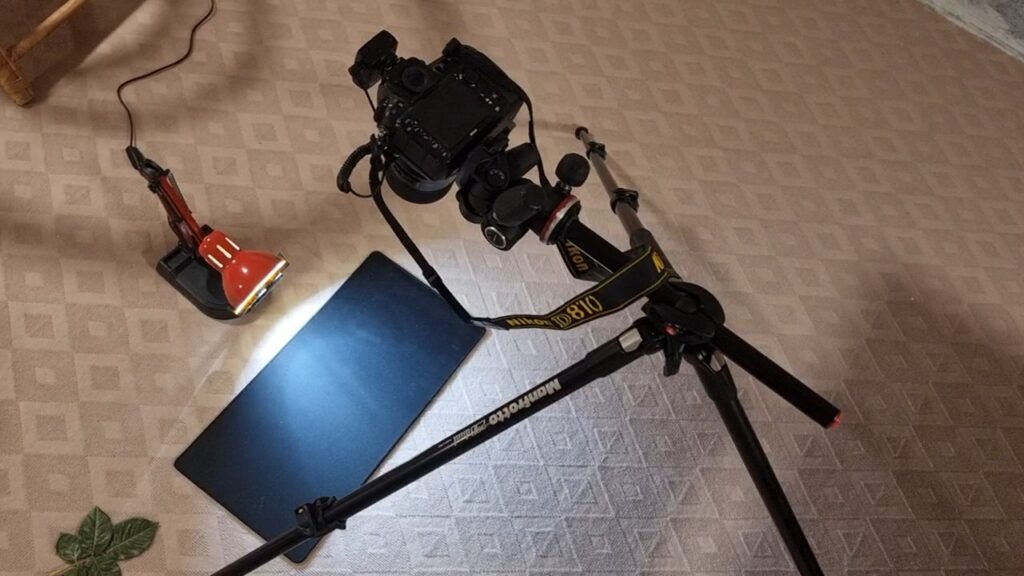
Step 4 — The Shot List (Photometric & Reference Frames)
Keep your setup fixed: two lights with polarizing gels fixed in place, subject on black background, and camera with a rotatable CPL filter.
Now you only need to:
-
Change light direction for photometric stereo captures.
-
Rotate the CPL filter on your camera when switching between diffuse and specular passes.
A) Cross-polarized (Diffuse / Albedo)
-
Rotate CPL until reflections disappear → this is cross-polarized.
-
Shoot 1–2 hero frames (and optional exposure bracket).
-
These frames will give you a pure albedo/diffuse base.
B) Photometric Stereo Stack (Normals)
-
Keep CPL in cross-polarized mode (no glare).
-
Capture the subject with each light turned on individually, rotating direction (left, right, top, bottom — or 8 angles if possible).
-
These directional shots will later solve into a normal map with high detail.
C) Parallel-polarized (Specular / Roughness)
-
Rotate CPL filter on the camera 90° from the cross-polarized position until reflections become visible.
-
Capture 1–2 frames with both lights on (or a single key) to record the specular component.
-
These are the base for creating the roughness map.

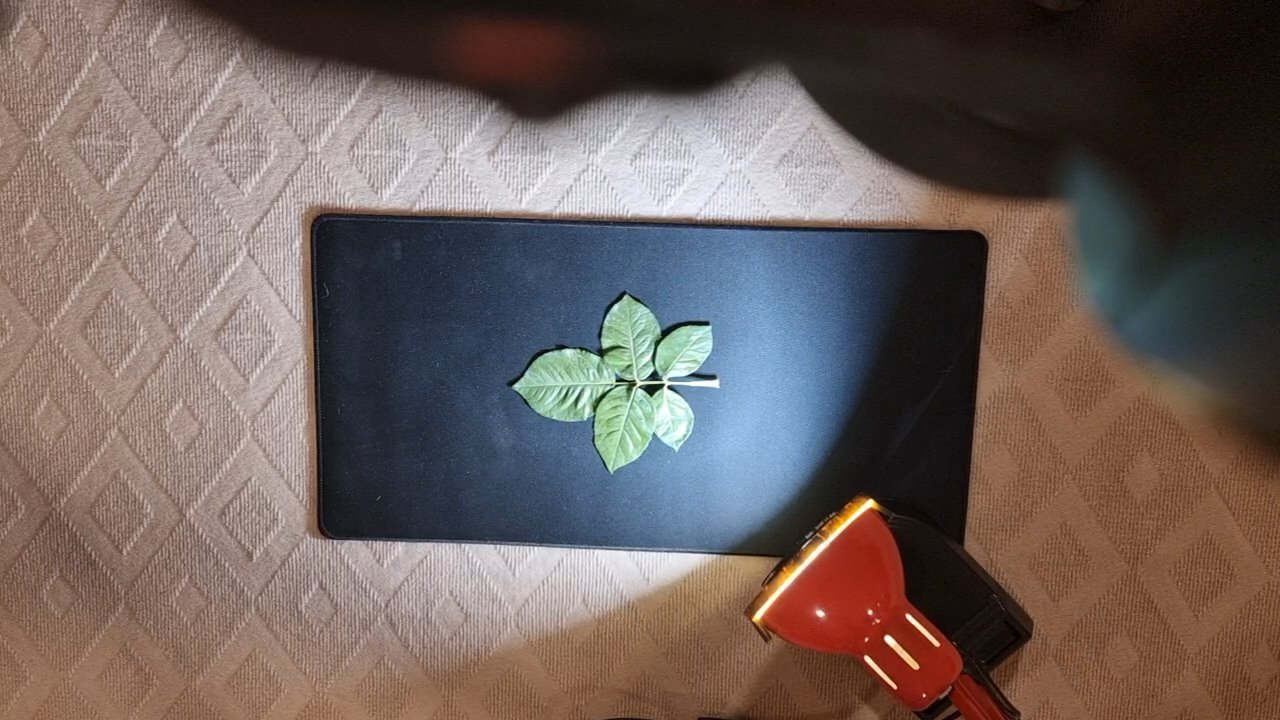
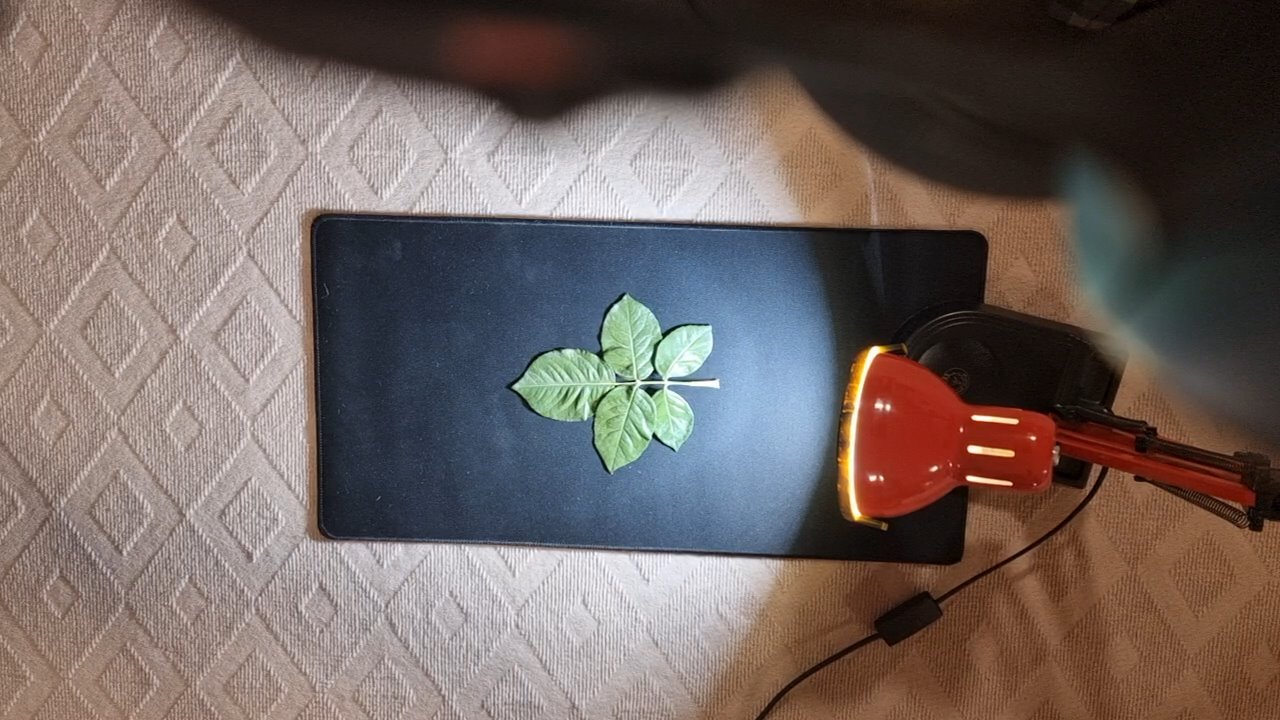
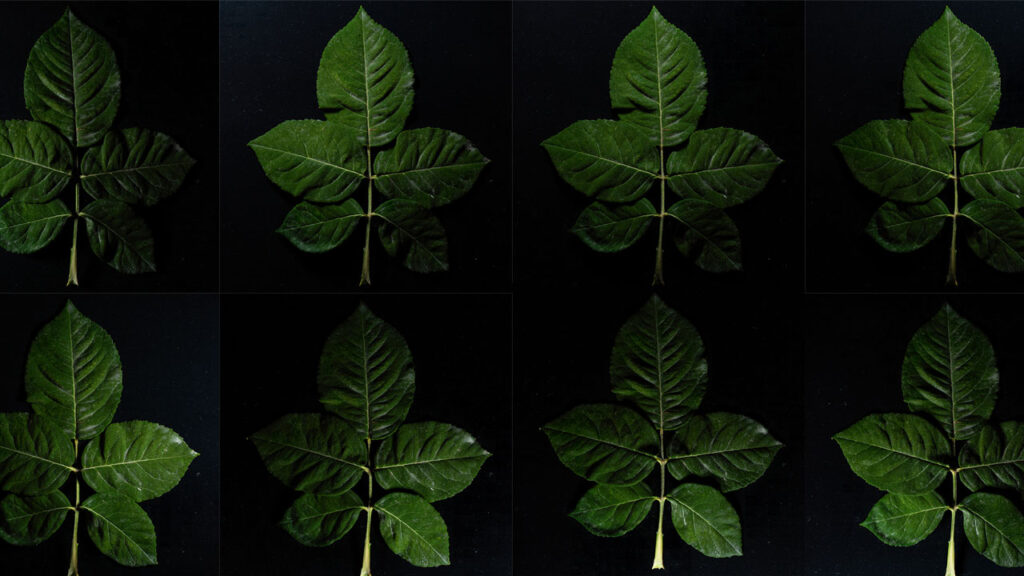
5. All of the Photos
You should now have 8 non-reflective photos of the leaf, each taken with cross-polarized light from different directions.
-
The black background makes the leaf easy to mask and edit later.
-
These images will be combined to create a clean, shadow-free texture.
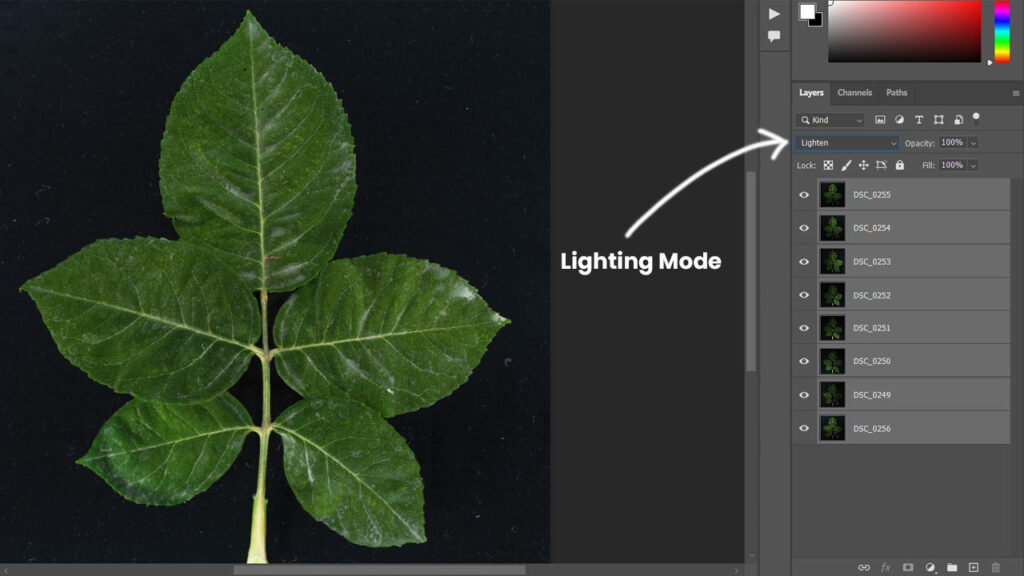
6. Make an Albedo (Diffuse) Map in Photoshop
-
Import all 8 images into Photoshop as layers.
-
Select all layers and set their Blending Mode to Lighting (Average).
-
This removes the shadows and highlights caused by directional lighting.
-
The result is a flat, natural Albedo image.
-
-
Clean the edges with a mask if needed.
You now have a true Albedo (Diffuse) Map ready for use.
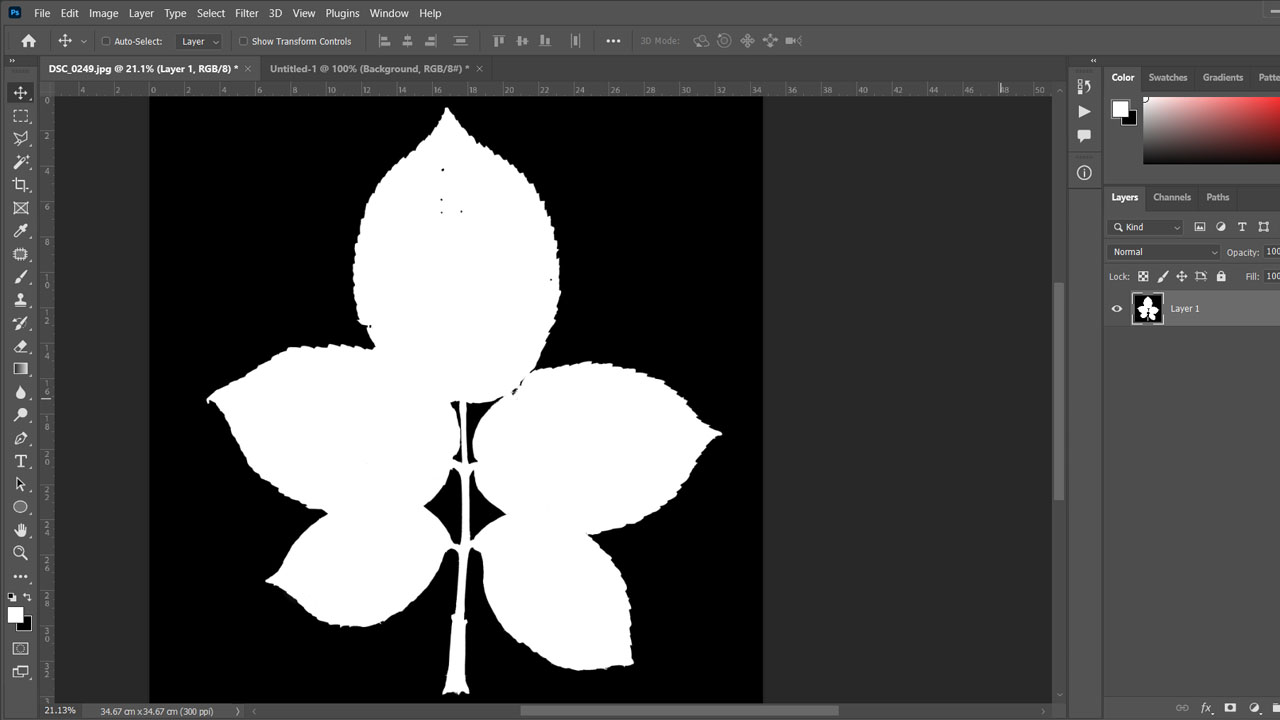
7. Create Opacity Map (Masking)
-
In Photoshop, go to Select → Color Range.
-
Click on a black area of the background.
-
Adjust Fuzziness until the leaf is clearly separated.
-

-
With the selection active, fill the leaf area with white.
-
This creates the first version of your mask.
-

-
-
To clean noise:
-
Use the Magic Wand Tool to select the leaf.
-
Invert the selection so the background is active.
-
Expand the selection by 1 pixel.
-
Fill the background with black.
-
-
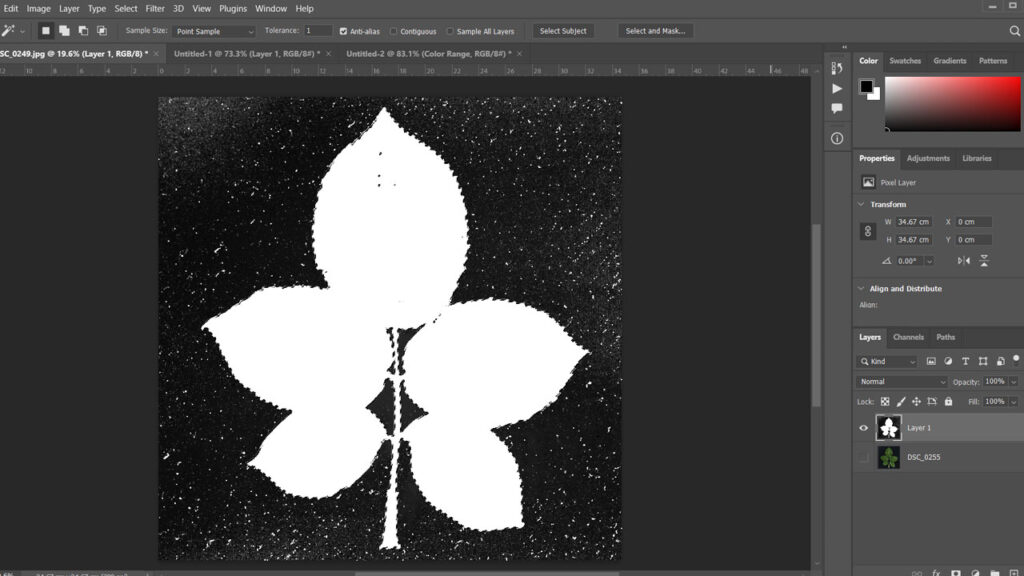
The result is a clean black-and-white Opacity Map where:
-
-
-
White = visible (the leaf)
-
Black = transparent (the background)
-
-
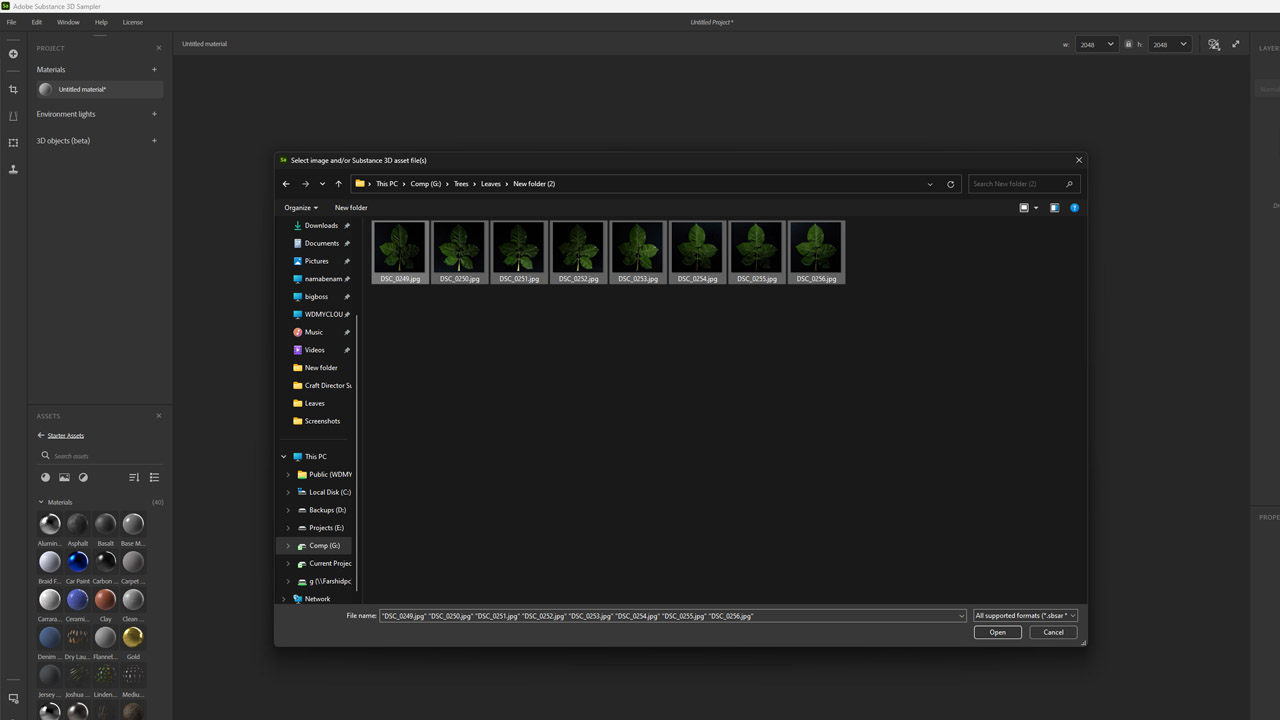
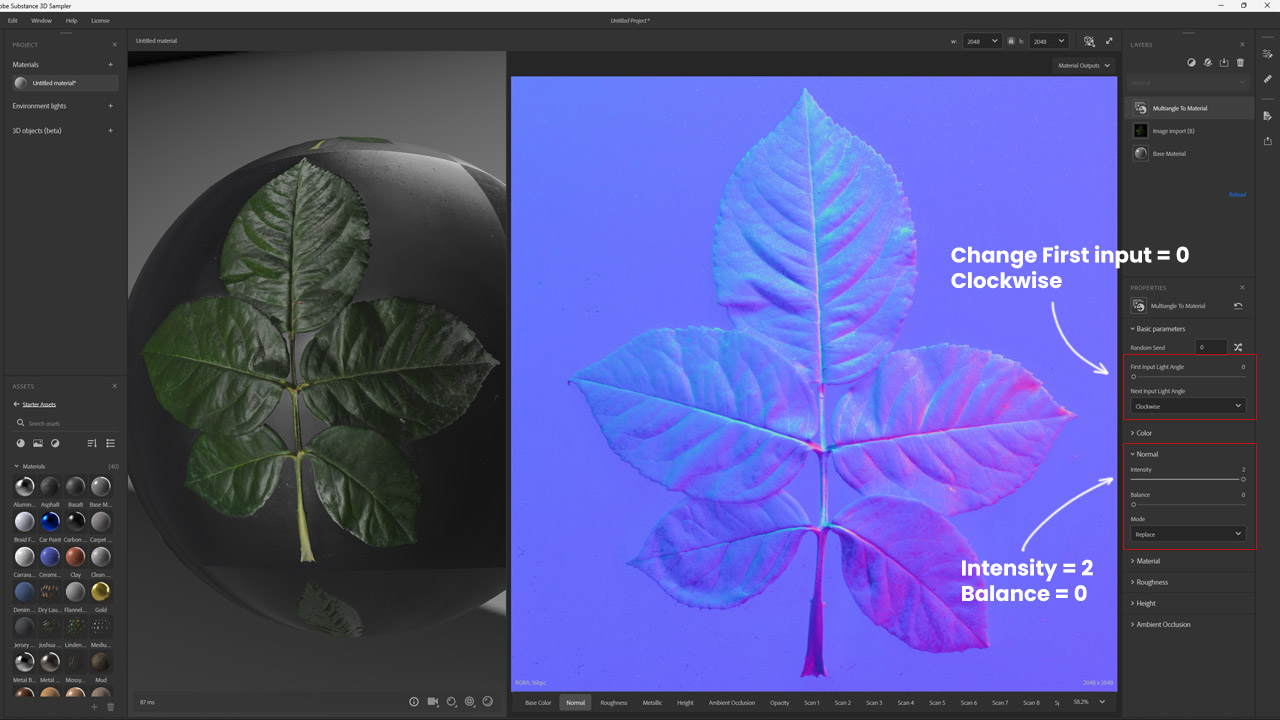
8. Create a Normal Map
We use Adobe 3D Sampler to generate a Normal Map with the Multiangle to Material template.
-
Import images
-
Drag and drop or import all 8 directional photos of the leaf into Adobe 3D Sampler.
-
-
Set light angles
-
Since the first capture was at 0°, set the First Input Light Angle = 0 and choose Clockwise rotation.
-
Increase Normal Intensity = 2 for stronger surface details.
-
Set Balance = 0 for natural results.
-
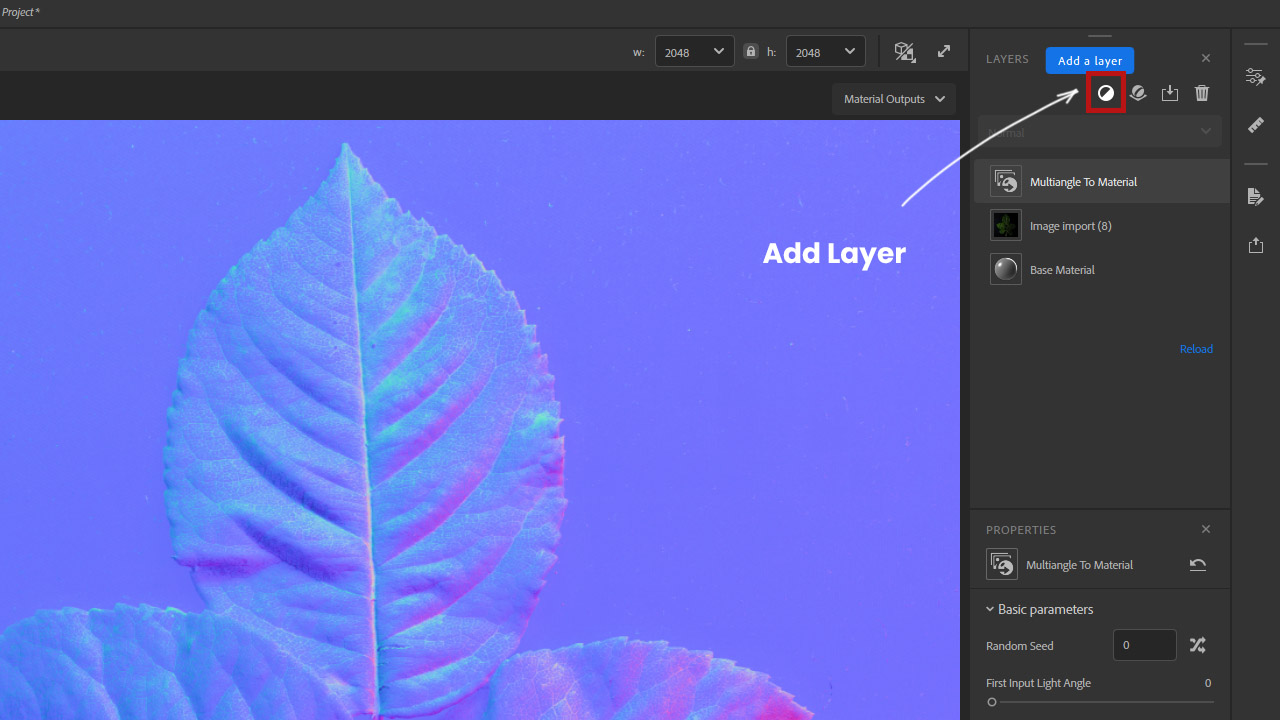
-
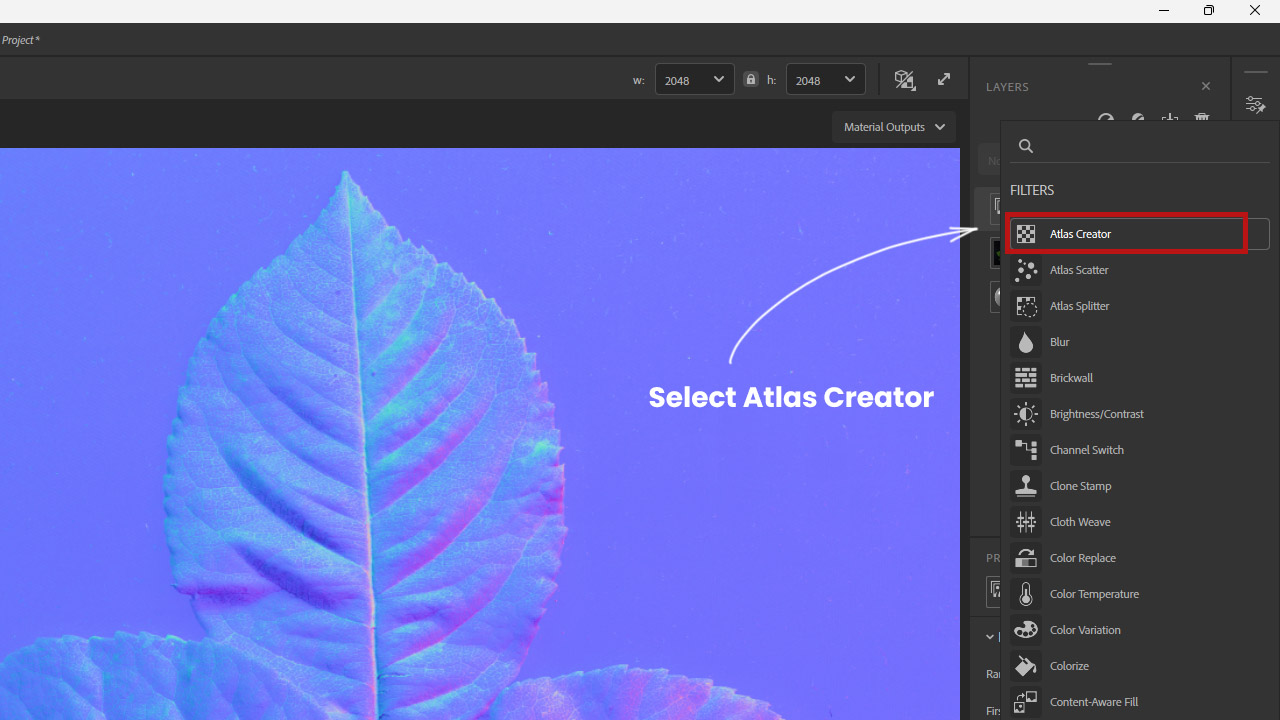
Add Atlas Creator
-
Click Add Layer.
-
From the filters list, choose Atlas Creator.
-
Assign the Opacity Map (created earlier) to cut out the background and keep only the leaf.
-
-
Refine opacity
-
In the Atlas Creator properties, click Edit Opacity Details and import your Opacity Map.
-
This ensures clean edges around the leaf.
-
-
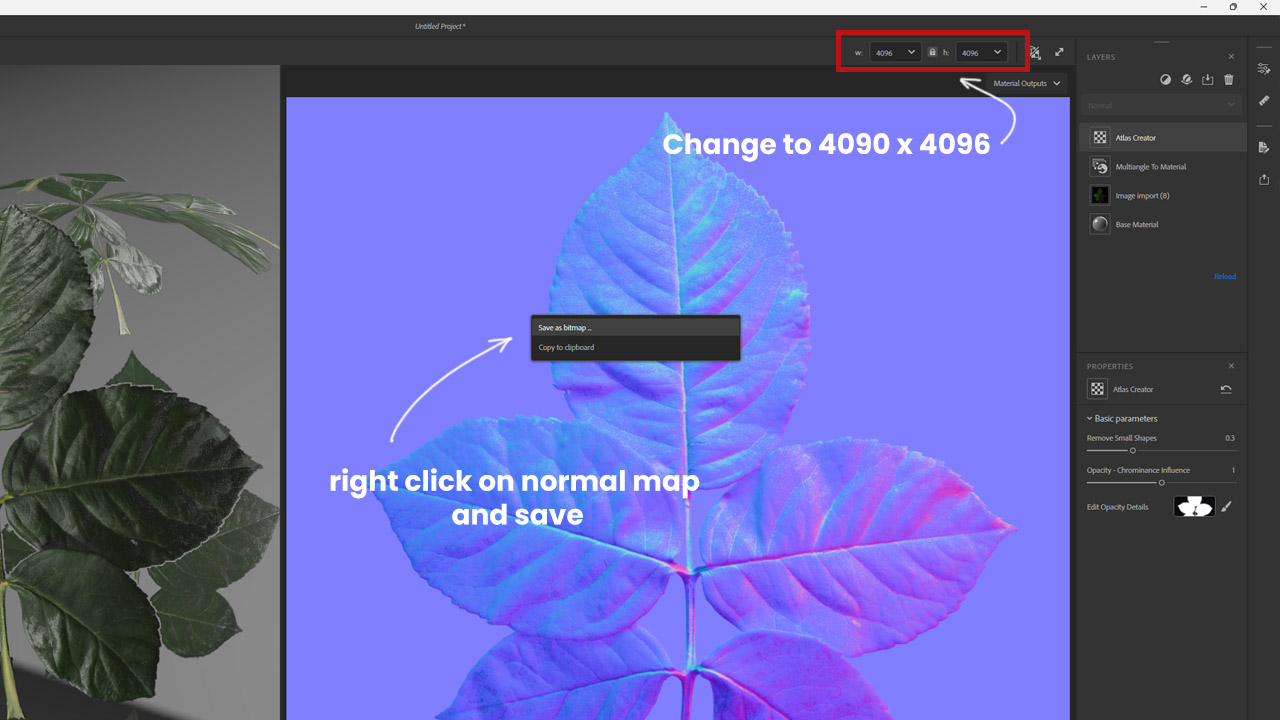
Export Normal Map
-
Change the resolution to 4096 × 4096 (or higher if needed).
-
Right-click on the Normal Map preview and select Save as Bitmap (PNG/TIFF recommended).
-
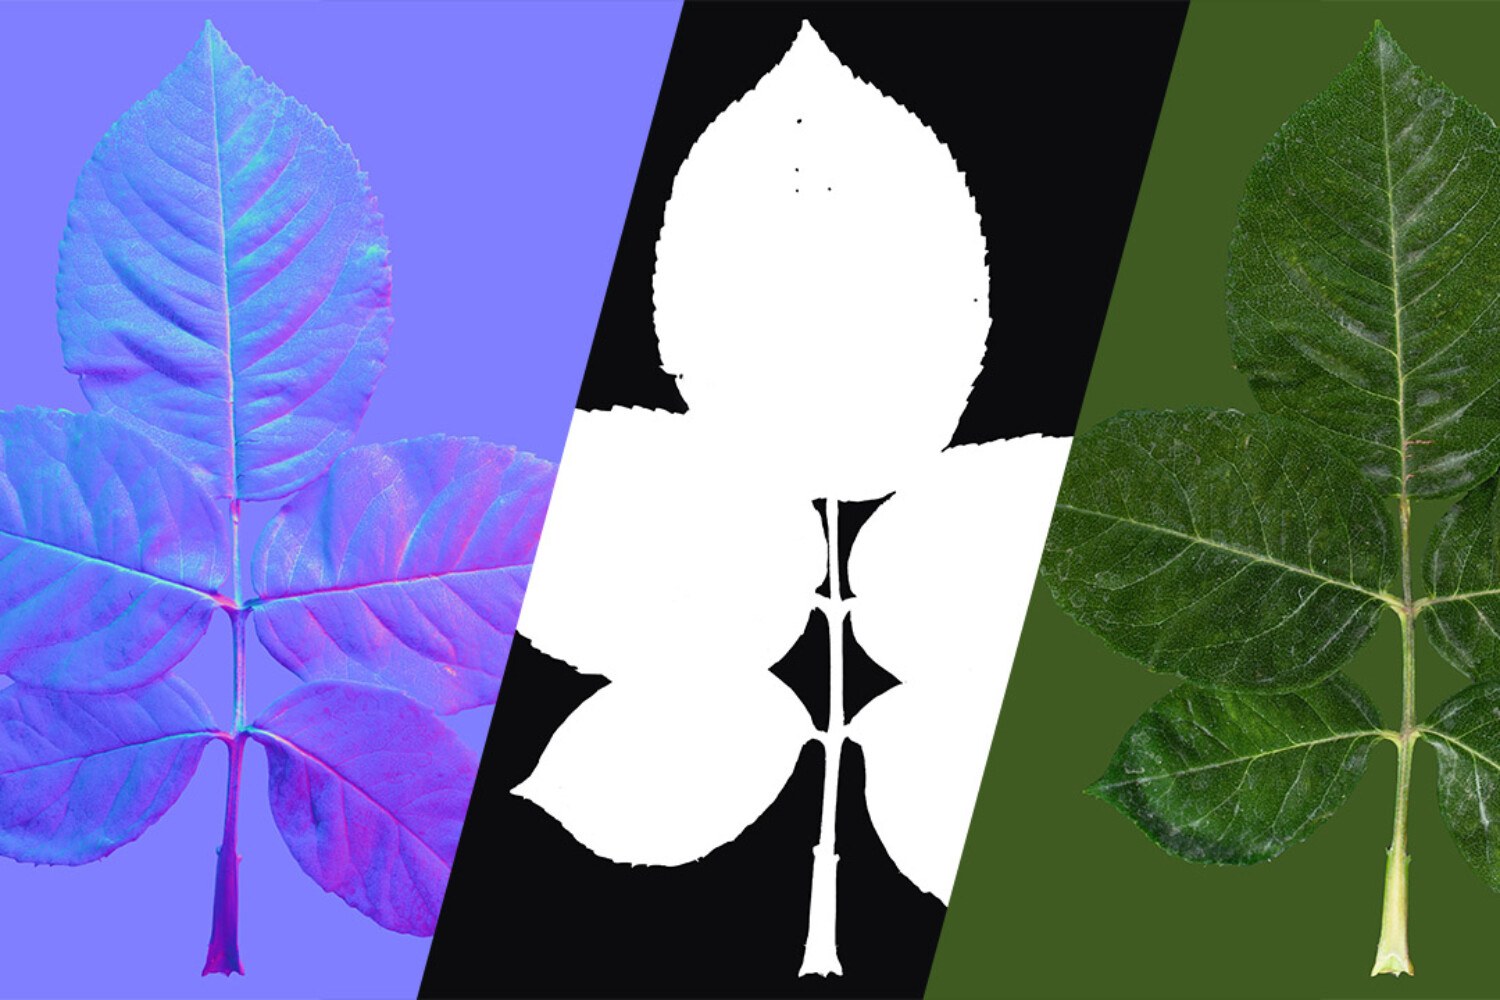
11. Result
At this stage, you now have:
-
Albedo Map (clean diffuse color)
-
Opacity Map (black/white cutout)
-
Normal Map (surface details from photometric capture)
These three maps form the foundation of your PBR texture set.
