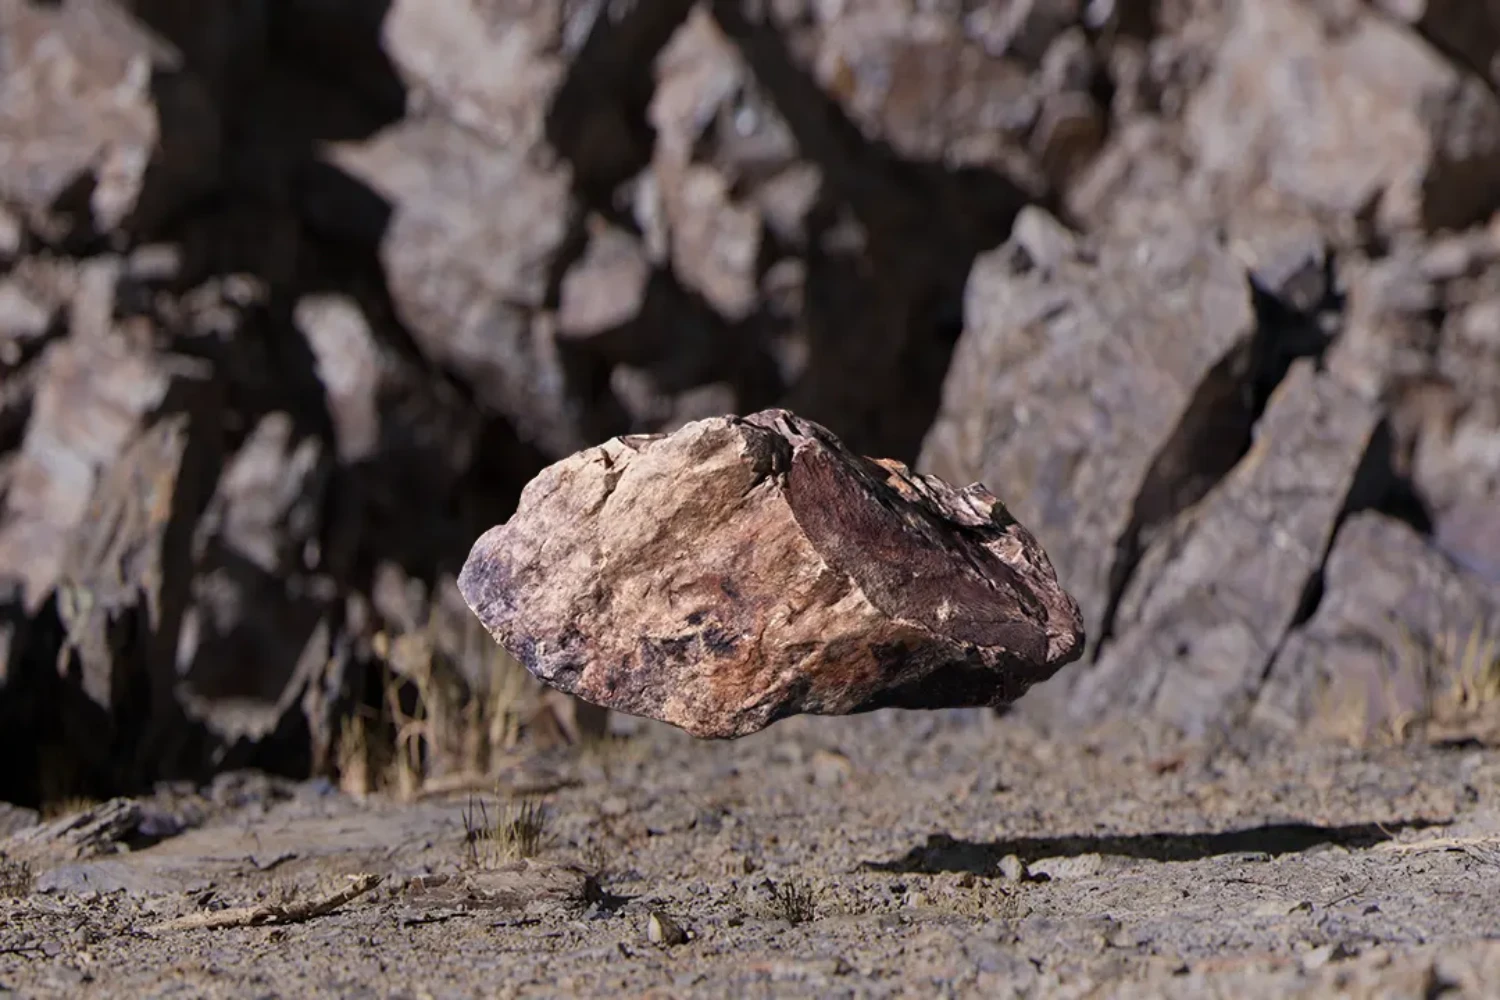
Introduction to Master 3D Scanning Course
The Master 3D Scanning Course guides you through an end-to-end production workflow, showing every step from photo capture to final real-time shading.
Each chapter uses industry-standard tools that professionals rely on in VFX, animation, and game development.
What you’ll Learn
-
1. Image Preparation & Photogrammetry
We start with high-quality photo capture and editing to prepare clean input data for photogrammetry:
-
Adobe Lightroom – adjusting exposure, white balance, and sharpness across photo sets.
-
Adobe Photoshop – automating masking and background removal with actions for faster batch prep.
-
RealityCapture / Metashape – building ultra-detailed 3D models from image sets and aligning cameras accurately.
-
RealityScan Mobile – capturing smaller assets using your smartphone for quick tests.
2. Mesh Cleanup & Topology
Once the scan is reconstructed, we refine its geometry:
-
Blender – quad remeshing, voxel remesh workflow, and matching real-world scale.
-
Autodesk Maya – fixing non-manifold geometry, retopology, and precise dimension setup.
-
ZBrush – cleaning topology with ZRemesher and projecting details onto optimized meshes.
-
Mudbox – generating accurate 32-bit displacement maps for high-fidelity surface details.
-
Comparison Workflows – evaluating Blender, Maya, and ZBrush results side by side.
3. UV Mapping & Baking
Proper UVs are essential for clean textures:
-
Blender & Maya – cutting seams, unfolding UVs, and performing layout checks with checker textures.
-
Marmoset Toolbag – baking 8K normal, AO, and curvature maps for texturing.
4. Texture Creation & PBR Workflow
After baking, we transform our scan data into true PBR materials:
-
NVIDIA Texture Tools – generating bump normals directly from albedo maps.
-
Photoshop – fine-tuning roughness, metallic, and color balance maps.
-
Adobe Substance 3D Sampler – converting real-world material data into calibrated PBR textures.
5. Shading & Look Development
We finalize each model with physically accurate materials for both offline and real-time rendering:
-
Blender Eevee – testing materials and lighting with real-time feedback.
-
Maya / V-Ray / Arnold – building production-quality shaders and displacement setups.
-
Marmoset Toolbag & Unreal Engine 5 – verifying textures, lighting, and normal map blending in a game-engine context.
6. Export & Presentation
Finally, we prepare the asset for practical use in animation, film, or game pipelines:
-
Scaling and exporting from Blender or Maya with accurate dimensions.
-
Organizing PBR maps (BaseColor, Normal, Roughness, Displacement, AO) for easy import into any DCC or engine.
-
Verifying final results with lighting checks inside Marmoset and Unreal Engine 5.
-
Start Learning today
If you enjoyed this preview, the full training goes far deeper — covering every stage from photo capture to game-ready materials. In the complete Master 3D Scanning Course, you’ll see the entire process in real time, with detailed explanations, screen recordings, and project files. It’s designed to help you build professional-grade 3D assets that can be used in film, animation, architectural visualization, or game development.


